Just a quick post to say thank you for all the nice comments I've had on my card! Wasn't expecting comments after joining the challenges, but its been really great! Will definetly try to do more challenges, its been great fun!
Unfortunately I haven't had time to make any more cards the last couple of days, but I did manage to order some more stuff! Amongst other things I got some more dragon stamps from Wild Rose Studios (had to really, I love those cute dragons!) and some liquid pearl that I've been wanting to try for a while now (I think I ended up buying 3 different colours so I hope I like using them! Hehe!). I'll try to post a picture of my new stuff when it gets here :)
Happy crafting!

Monday, 20 February 2012

Saturday, 18 February 2012
Dragon Birthday Card
Here is a birthday card i made today, and my first card featuring a dragon (I loooove dragons!!)
I also tryed out my new distressing ink and I quite like the look of it. Will definetly keep using it! I used my Cameo to cut out the oval and the frame around the dragon, the dragon stamp is from Wild Rose Studio. For the 'Happy Birthday' i used black and glitter embossing powder. I also used some Stickles for the candles.


I've entered these challenges with this card (first time doing a challenge, wish me luck!):
Stamping with Dragon - Year of the Dragon Challenge
Our Creative Corner - Black and White with a Splash of Colour
Allsorts Challenge Blog - Anything Goes
Card makin' mamas - Challenge #39 HAPPY BIRTHDAY!
Fab n' Funky Challenges - Challenge #108 - Try something new!
Top Tip Tuesday - Challenge #70 - Mystical, Magical & Fantasy!
I think that was all of them... My apologies if I forgot anyone!
I also tryed out my new distressing ink and I quite like the look of it. Will definetly keep using it! I used my Cameo to cut out the oval and the frame around the dragon, the dragon stamp is from Wild Rose Studio. For the 'Happy Birthday' i used black and glitter embossing powder. I also used some Stickles for the candles.


Stamping with Dragon - Year of the Dragon Challenge
Our Creative Corner - Black and White with a Splash of Colour
Allsorts Challenge Blog - Anything Goes
Card makin' mamas - Challenge #39 HAPPY BIRTHDAY!
Fab n' Funky Challenges - Challenge #108 - Try something new!
Top Tip Tuesday - Challenge #70 - Mystical, Magical & Fantasy!
I think that was all of them... My apologies if I forgot anyone!
Friday, 17 February 2012
For a Friend
Here is a card I made for a friend of mine that I work with at the hospital. She had finished her cannulation course so I made her this card for fun :)


Tuesday, 14 February 2012
Valentines Day
This one i made for my boyfriend for Valentines Day. (The idea i got from underacherrytree.blogspot.com). Everything was cut out with the Cameo.
 |
| Valentines Day card (the little letters I cut out and they were a pain to glue on to the card! (as you can probably tell as some of them arent straight...) |
 | |
| I put some of the puzzle pieces on with 3D pads to get a nice effect. |
Monday, 13 February 2012
Another Birthday Card
Here is a card I made over the weekend for my father in laws birthday last week:


Thursday, 9 February 2012
Embossing powder!
Today I had some time off work, and what to spend the time on.... oh, yes! Cardmaking! hehe!
I needed to make a 30th birthday card for my cousin, so time to try out the Cameo again!
I made a 'testcard' first, not so much because of the Cameo, but because I wanted to try using embossing power for the first time! And here is the result:
I needed to make a 30th birthday card for my cousin, so time to try out the Cameo again!
I made a 'testcard' first, not so much because of the Cameo, but because I wanted to try using embossing power for the first time! And here is the result:
 | |||||
| Here is the 'testcard' |
 |
| And here is the birthday card (note the flower says '30', it doesnt show up quite as well as I wanted. |
Horses
A couple of days ago someone at work asked me if I could make a card for her husbands birthday. She told me he likes horses and horseracing, and wondered if i make a birthday card featuring horses. I said I would give it a try, but unfortunately she only gave me a few days notice and I've been working late days at the hospital ever since... I still gave it a go and here is the result... I'm not a 100% happy with it, but it has been a great learning experience for me, as I am still a beginner when it comes to making cards :)


Saturday, 4 February 2012
First card using the Cameo!
So after playing around with the Cameo all last night, trying different cuts and papers, I finally got around to making my first card today! It helped that the paper I ordered arrived in the mail today, this one is thinner than the one i had and much much better to use with the cameo! The paper I used is 160gsm, so I used the heavy cardstock setting on the Cameo, but found that i needed to change the blade to setting 4 instead of 3.
I made the card using a template I bought from Silhouette Studios online shop (making a few adjustments of my own). Its an easel card, which means it can stand up on its own to make a nice display.
And here it is!
I made the card using a template I bought from Silhouette Studios online shop (making a few adjustments of my own). Its an easel card, which means it can stand up on its own to make a nice display.
And here it is!
 | |
| From the front |
 |
| From the side so you can see how the easel card works. I tried to make the flower stand out a bit to make a slight 3D effect and I'm quite happy with it |
 |
| This is a flower i cut as a test to see if the cutting mat was still too sticky and to see if I could manage to get an intricate design off the mat without ripping it. And it works, yay!! |
Friday, 3 February 2012
First Cuts!
I had this cardpack from papermania where I don't really like the colours, so I decided to use this as my test paper. I tried several settings, and cutting different shapes, but the cuts did not come out clean and i could not get it off the sticky mat without the paper tearing (even when the shapes weren't small or complicated!).
Then I had a slightly bright moment: maybe its the paper, not me or the machine! Changed paper and voila! Nice clean cut and I managed to lift it off the mat in one piece!! Hurray!!
 |
| So these are my first successful cuts with the Cameo! (Sorry about the image quality, bad lighting) |
Thursday, 2 February 2012
Silhouette Cameo!
So I finally made up my mind and bought a Silhouette Cameo! I picked it up from the post office today after ordering it Monday night, how quick was that!? (thank you cplshop!!)
Havent had time to try it out much yet, so far I've only cut out a 'Thank you' on printer paper just to see if it would work, and it did! The backing mat seems a bit too sticky, but it might just be because the paper was so thin.
So far I'm very happy with it, and especially the online site where you can download designs etc, there are literally thousands of different things you can make!
So anyways, this is what it looks like:
Now I'm off to try and cut some more paper!
Havent had time to try it out much yet, so far I've only cut out a 'Thank you' on printer paper just to see if it would work, and it did! The backing mat seems a bit too sticky, but it might just be because the paper was so thin.
So far I'm very happy with it, and especially the online site where you can download designs etc, there are literally thousands of different things you can make!
So anyways, this is what it looks like:
 |
| Here is the Cameo still in the box fresh from the post office! |
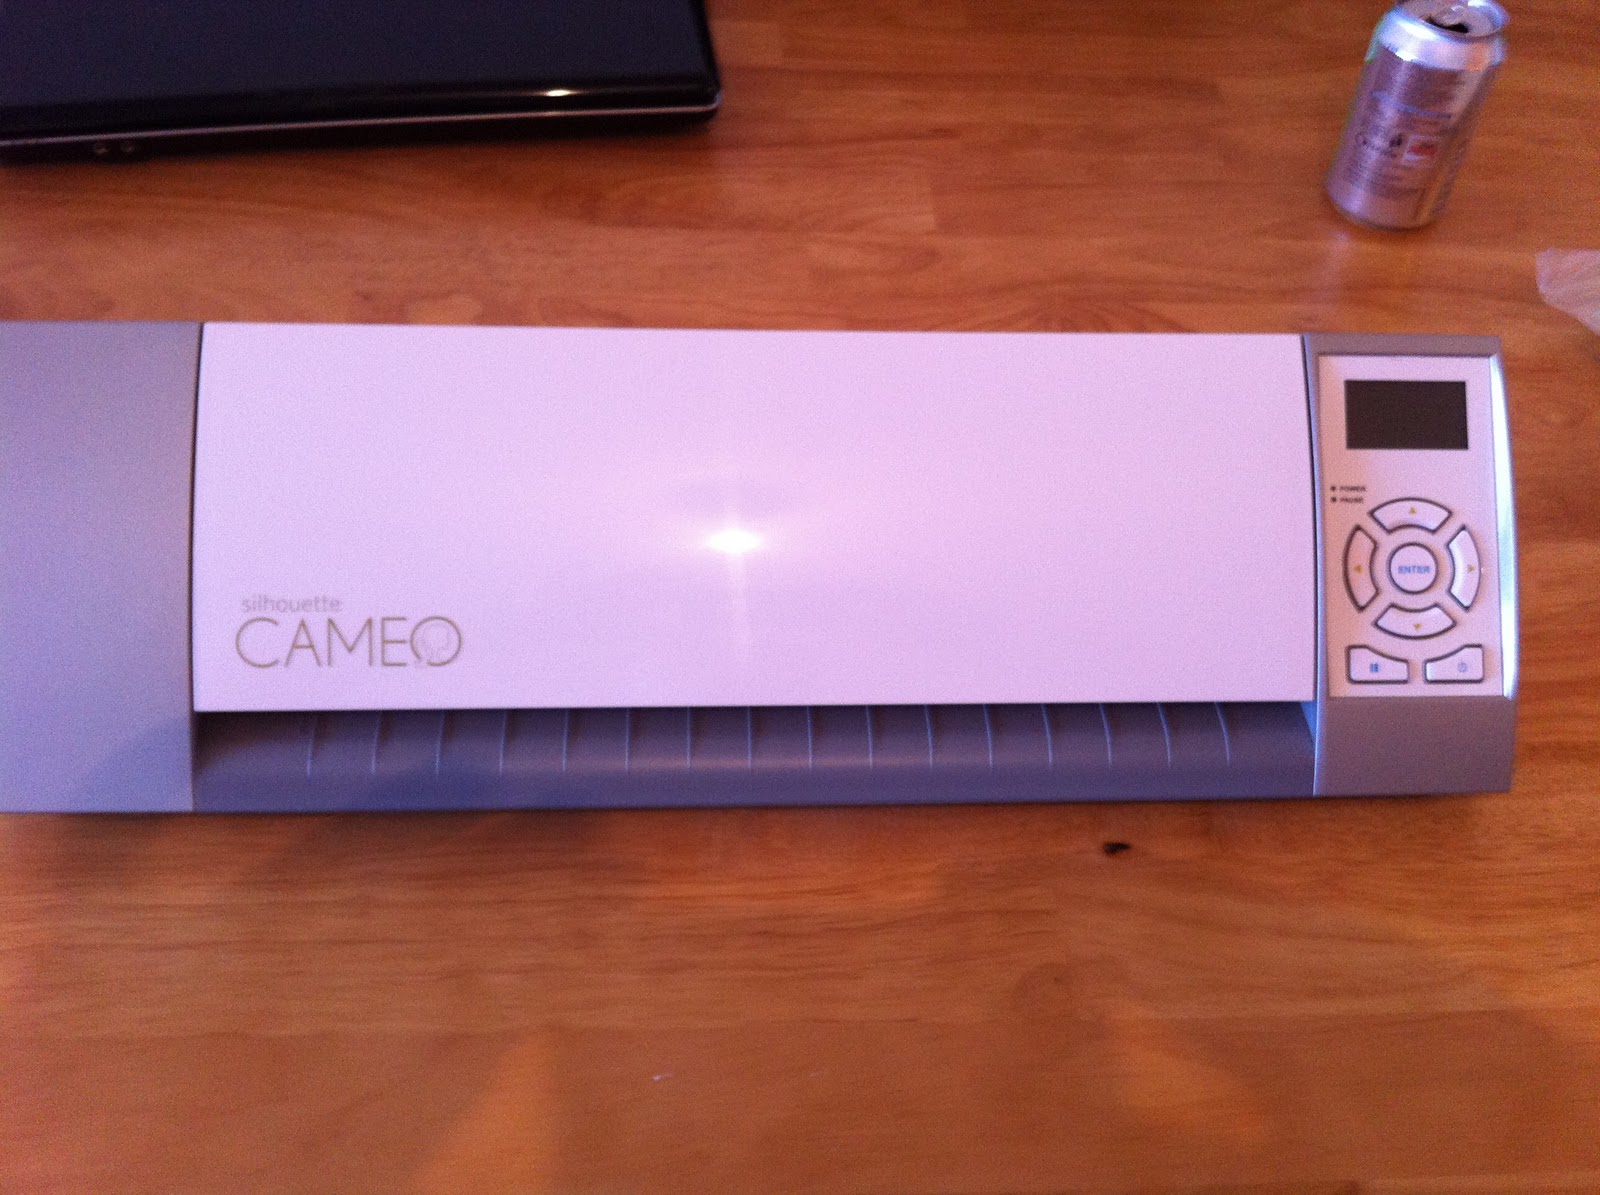 |
| And this is what it looks like! |
 | |
| And here it is with the lid open, ready for action! (Note the laptop in the background ready to connect to the Cameo to try it out :) ) |
Now I'm off to try and cut some more paper!
Subscribe to:
Posts (Atom)